
Yes, it is a rattle can paint job I did on our 2015 FLHR in 2018. It was a salvage bike with low miles and moderate damage. We needed another test bike but had a very small budget. This Road King fit the bill!
After swapping the front wheel out I could roll it into the shop and tore it down.


Mechanical repair was straight forward. I decided to just put it back together with stock parts and get to improvements later. I did install one of our triple tree sets on the bike to see how rake and trail like on 2013 and older models would work. The reduced trail would let me install our 21 inch CNC front wheel and come out with about the same trail as stock on 2014-up models. But our 19 inch wheel went in first to test the 14 inch brake rotors they come with.


With that our of the way I was looking at the sheet metal I had on the shelves. All vivid black. I didn’t want yet another black bike. I didn’t want to spend a couple of thousand dollars on a decent paint job either so I decided to try my luck with rattle cans. I figured with time, patience and decent products I might manage to get a result that could pass as an ok job. The plan was to lay on enough coats to have depth in the paint – and thickness to cut and buff out the flaws.
The parts I had didn’t need much body work and after spraying 2K primer the first coat went on. Black will show everything you’ve missed. I waited until the next day, wet sanded and then put a second coat on. All better!


After letting the paint dry for a couple of days I laid on 3 coats of copper sparkle, 4 coats of candy orange and finally 3 layers of 2K clear coat. It took a whole week because I let the different coat types dry for at least a day before moving to the next type. Spraying outside means you’ll have some dust in your paint. I carefully wet sanded the most obvious specks out in between coats using 2,000 grid sanding paper.
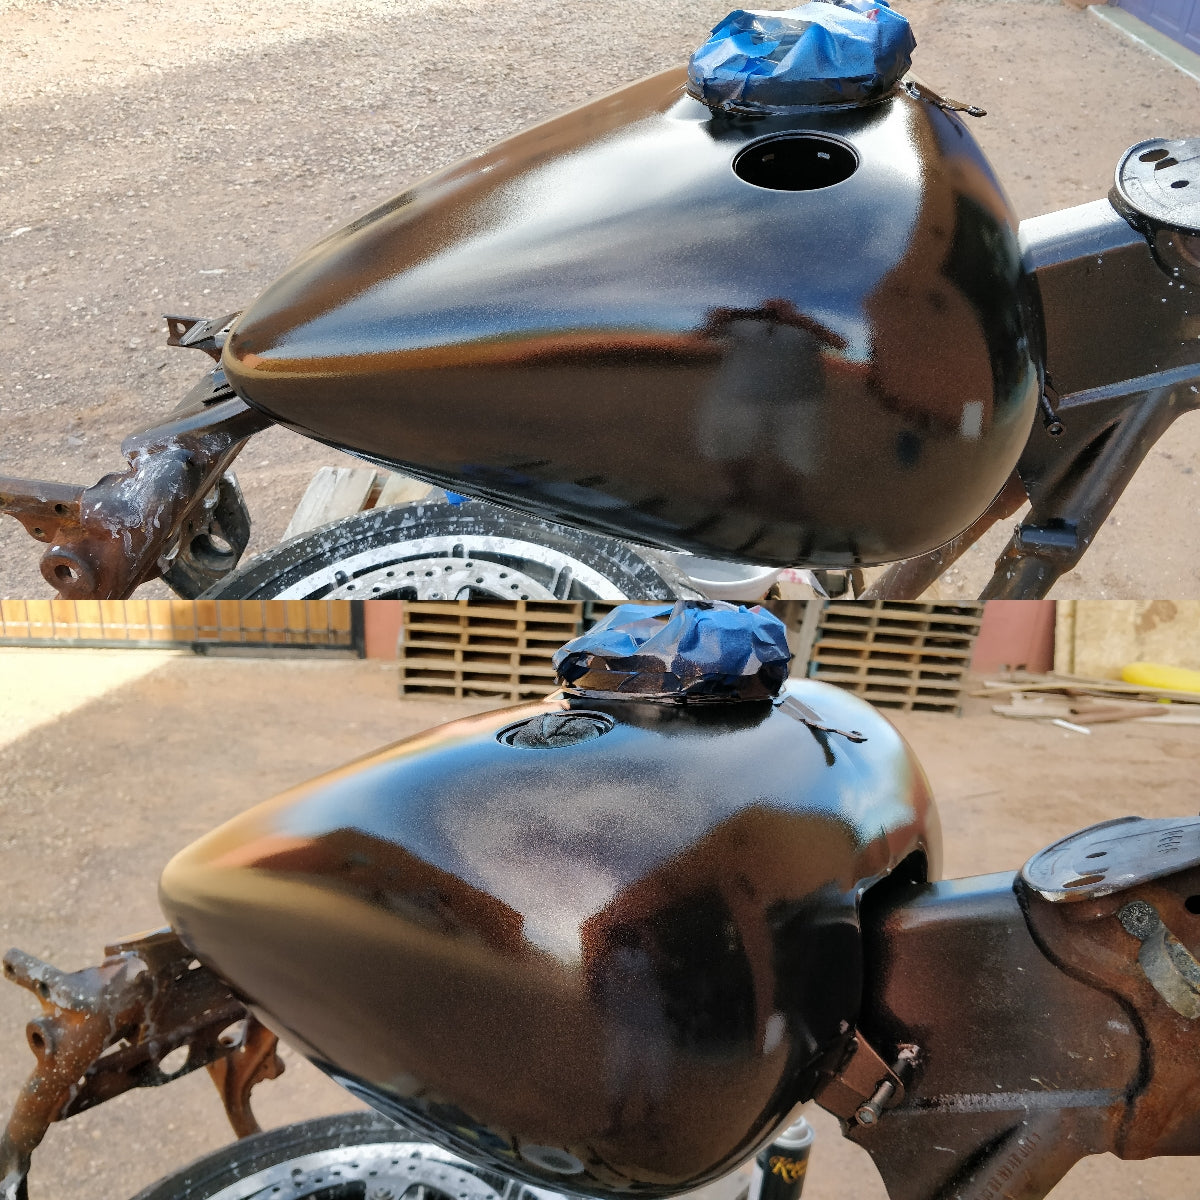


When I started laying down the sparkle coat I had some serious remorse – THIS did not look promising! Why wasn’t black good enough for me???
In the end it came out much better than I had thought. Letting coats dry completely and sanding out orange peel and dust specks in between coats worked out nicely. It just takes time and patience. All other parts were done the same way and everything went together nicely.


This is certainly not comparable to a professional paint job but I’m only into it a few hundred, not a few thousand dollars. I never got around to cutting and buffing it but it looks ok anyway. Let us know what you think! Thanks for reading.
I’m Andreas, the owner of GeezerEngineering LLC. My first Harley was a 1980 FXWG. I still have it and will not ever sell it. I’ve been around Harleys for decades and hope to stick around for a while longer. Ride safe!